How to Backup Video from Hikvision DVR/NVR Old UI: A Step-by-Step Guide
Whether it is your business or your home security is so important for your peace of mind in today's world. And to make your premises safe, Hikvision stood firm with 20-30% of the world's video surveillance market share. Hikvision's reliability, video quality, wide range of products and global presence and support make it the first choice for CCTV installers and customers.
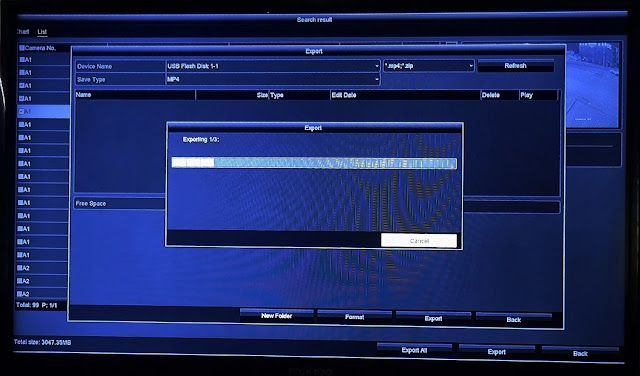
In this post, I will show you the step-by-step process to easily back up videos from Hikvision devices into an external device like a USB or HDD.
Note: Before performing the below step for backup you should check device's storage or Hard Disk Drive working or not. Check whether the date and time are correct or not. Simply go to the playback option and check whether the date of interest is marked blue or not, if not then there is no footage available for backup.
Step 1: Insert USB or External Drive
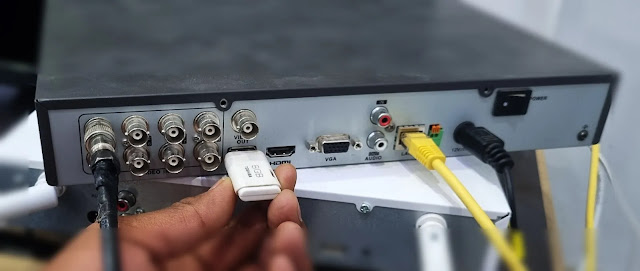
For making the backup from the Hikvision device you should have inserted an external USB drive into the USB port. There are two USB ports available on any NVR or DVR, one for the mouse and another for the external USB drive.
Step 2: Select Menu
Right-click the mouse on anywhere on the screen for quick menu options. The below screen will open. Simply click on the "Menu" option to access the DVR/NVR user interface to back up the video.
Step 3: Authorization step
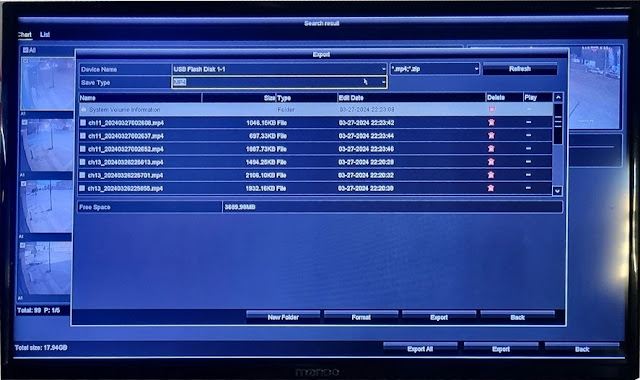
Step 3: Navigate to the Menu Export
Step 3: Select the Date and Time for the Backup
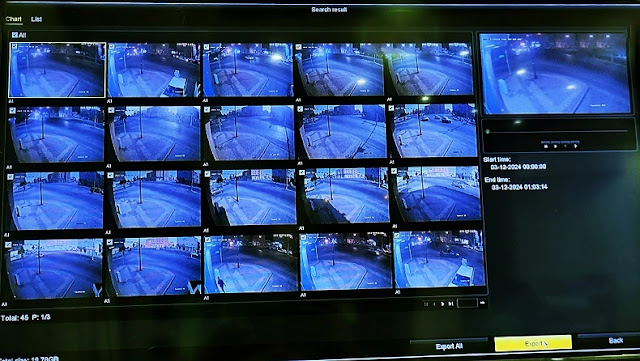
Select the search parameter by selecting the start and the end date and time and then click Search.


Post a Comment